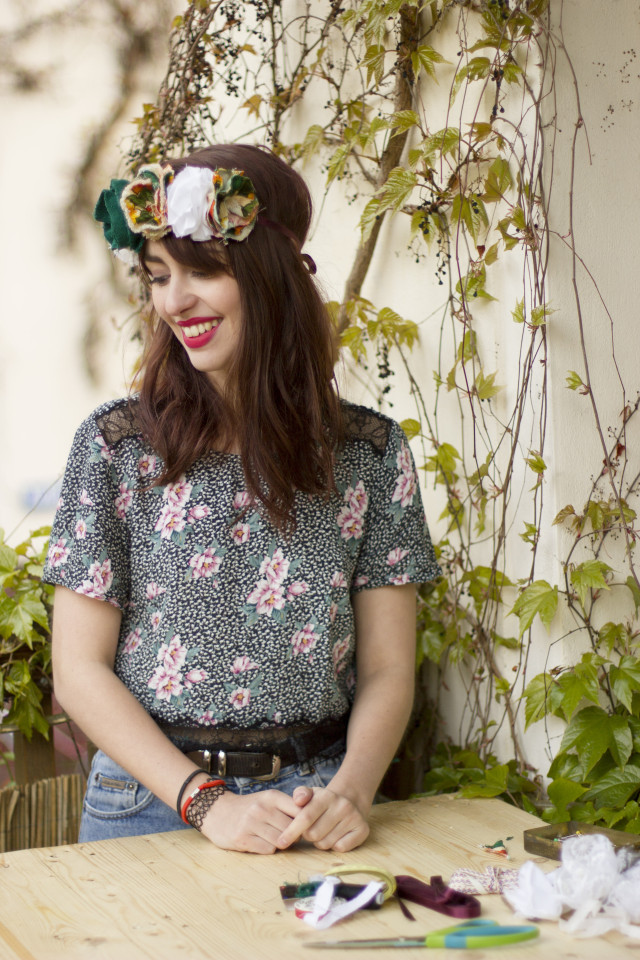
DIY Fabric Flower Crown

Spring is already here and summer is on its way, the beautiful weather inspires me to dress up a bit differently, adding a special accessory: flower crown! It is on trend for spring & summer since few years now, but I cannot imagine spring afternoons, festivals and parties without it. It is a feminine piece, it enhances any simple outfit! The only problem would be that a lot of other girls would have thought about wearing one too. But they will all be very similar, because they are all bought from popular stores. So, how to stand out? By creating your own! It can become a very personal accessory; it reflects your mood and personality as you create it yourself! There is no limit of styles and colors, just have fun and be creative!
Sewing skills: beginner
You will need:
- 6 pieces of fabric of 30 cm long and 8 cm large,
- A ribbon of 1,5 times the size of your head and about 0.5 cm large,
- A needle,
- Thread of the color of the ribbon,
- Fabric scissors,
- 30 to 40 minutes of your time.
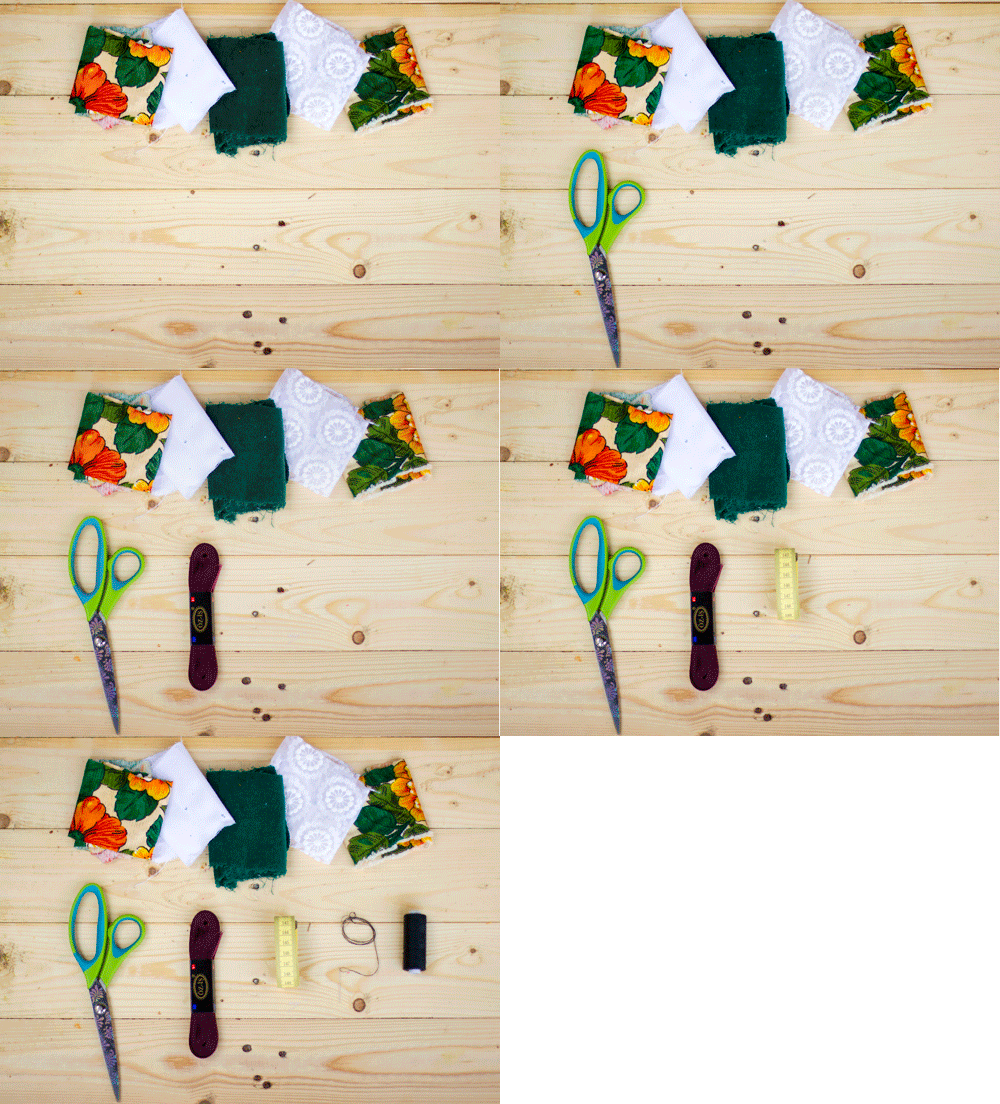
First choose a nice pairing of colors for your flowers. The fabric can be patterned but also plain. It can be lace, thin leather, vinyl, etc. The best is to play with colors, patterns and materials. Just have fun! Start by cutting the pieces of fabric at the right size (30 cm x 8 cm). Insert your thread in your needle and make a double knot to secure it. Once done you can start sewing.
Start by one of the edges of your piece of fabric. From there you are going to sew from the wrong side or underside to the right side or top side, then put the needle back from the right side to the wrong a centimeter away from your first hole. Now do this again until the end of the fabric, when you reach the edge, make a knot to secure your sewing. Now do this again with all the piece of fabric you have.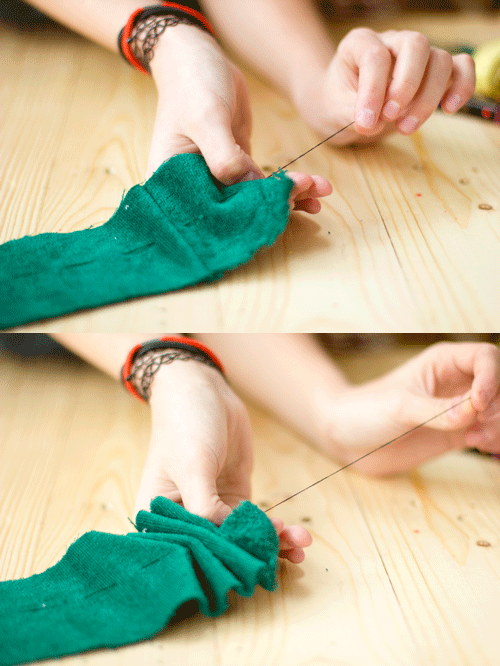
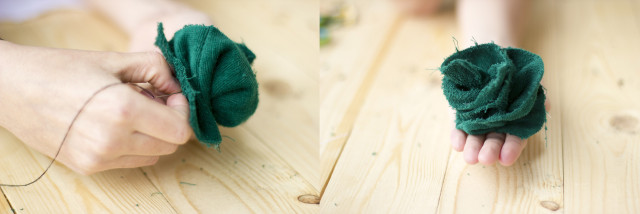
While holding tight your thread, you are going to push the fabric back to the start of your sewing. It should look like an accordion. Now secure it, make the knot the tightest you can to hold the shape. Cut the excess of thread.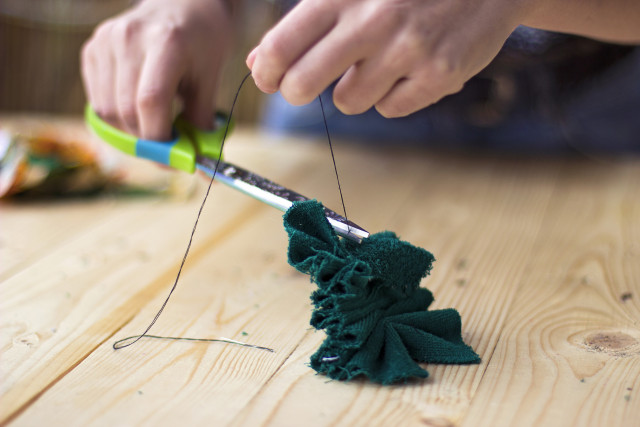
Now you are going to pinch both edges of the accordion you made. You are going to turn them both to opposite ways, as much as you can. After that, choose a side and put all the layers of fabric towards this side. You are going to end with a fabric rose/flower.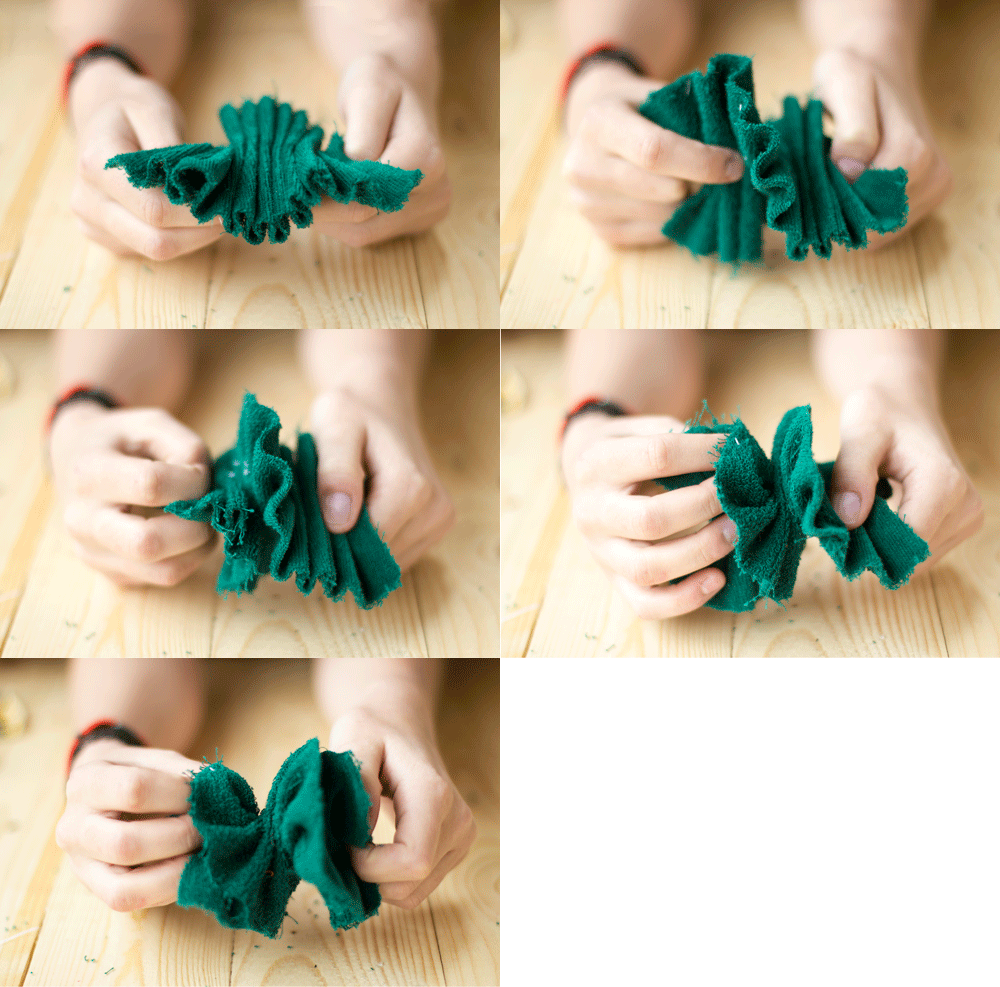
Do this again with all the pieces of fabric you have and secure them sewing the middle of the flower.
Once done, take your ribbon and find the middle. Mark it – I tighed a piece of fabric around mine – display it in front of you and with your fabric flowers find the best way to arrange your crown.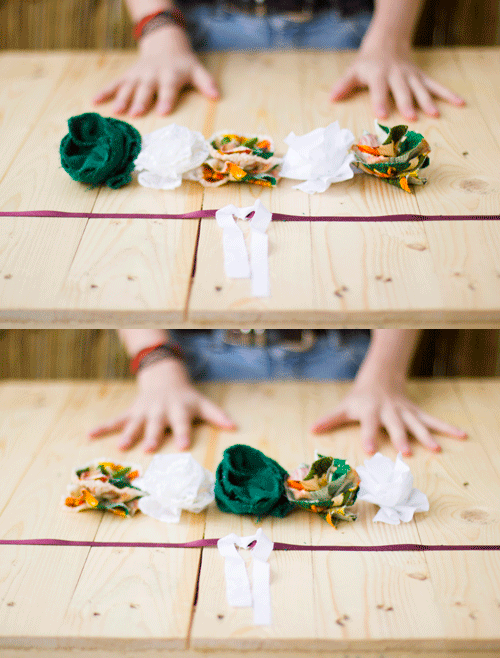
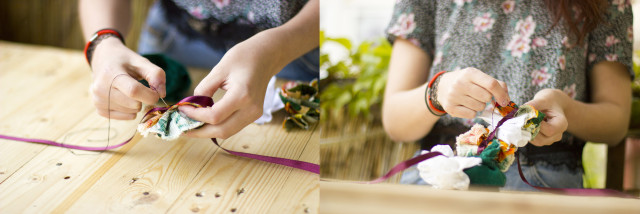
Once set, keep the display in front of you and start to sew the flowers to the ribbon. Put the needle from beneath the ribbon and in the bottom of the flower. Go through and go back in the flower, as well as through the ribbon. Do it a couple of times to secure your sewing. Make a tight knot under it.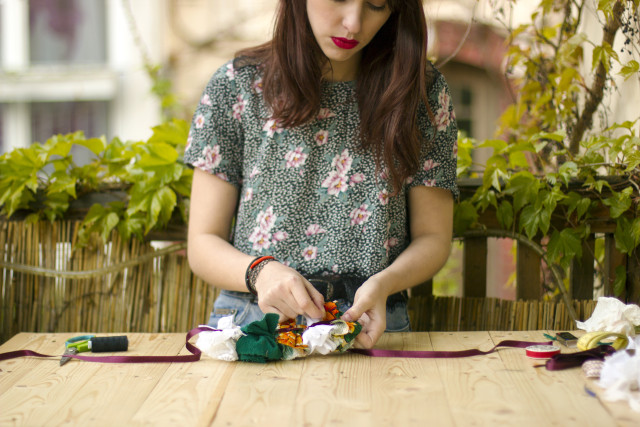
Do this step again for all of your flowers. Be careful to sew all the flowers close enough to the others, because once on your head we don’t want to see the ribbon appearing. Once finish don’t hesitate to cut a bit the middle of the flowers to make them looking more like roses.
Voilà ! Enjoy your work !




Wow, thats looks actually pretty easy! Nice post!
Thank you!! It is really easy, once you’ve done one, you can’t stop doing them!